Lesson content
Before starting, you need to prepare the following accounts and tools:
1 , Paypal account (to receive money)
2, Hosting, Domain (to build a wordpress website, all products and sales pages we will use on the same website)
3, Warriorplus account (warriorplus is a digital product platform similar to clickbank, digital24, …. helps products reach affiliates and process payments)
4, Muncheye.com account (Product launch calendar website. We will post products here to recruit affiliates)
5, Marketing email account (Mailchimp has 1000 emails for free, when you have 1000 emails, continue to upgrade to the monthly package)
Account Creation Guide:
Below are detailed instructions and explanations on how to sign up and use some important tools like PayPal, cheap hosting, WordPress, Muncheye, WarriorPlus, Aweber and Mailchimp:
PayPal:
Explanation: PayPal is a popular online payment service that allows you to accept payments and transfer money conveniently and securely.
To register for PayPal, there are two things you need to do: make a VISA card and create a PayPal account. You can go to ACB bank or register online, many banks will send the card to your home.
Register:
To register for PayPal, you first need to go here to the PayPal homepage.
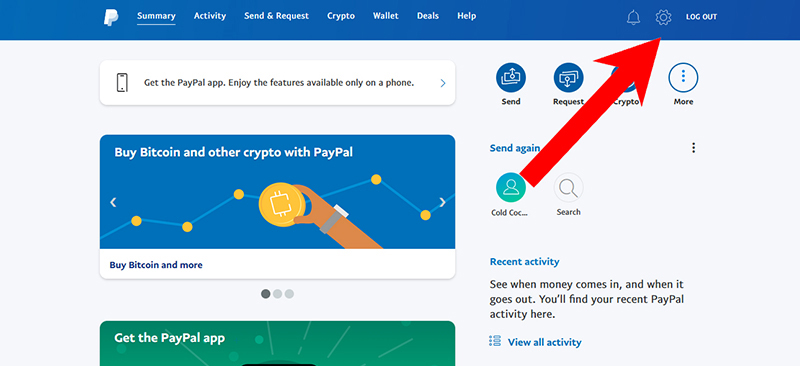
Step 1: Go to Your PayPal Settings
After logging in to your Personal Account, click the settings icon in the top right corner of your account homepage.
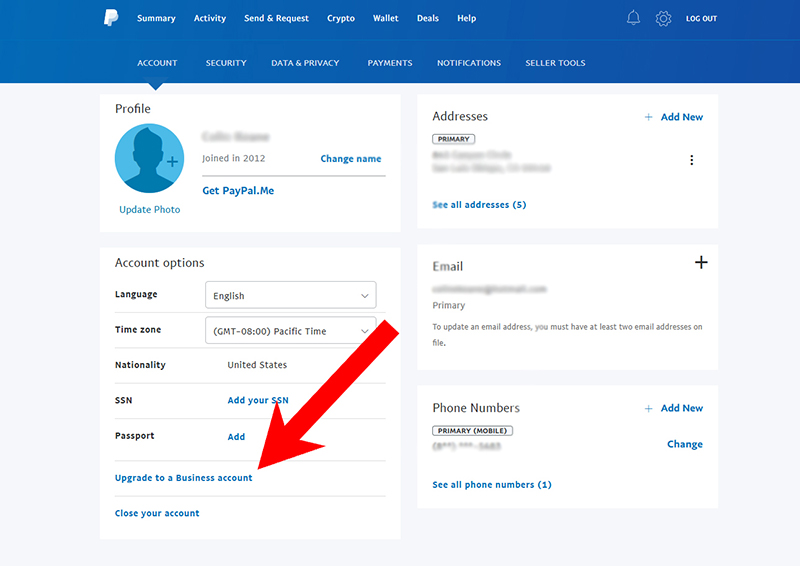
Step 2: Upgrade Your PayPal Account
In the lower left corner of your account homepage, click the Upgrade to a Business account link and then follow the instructions on the next page to upgrade you account.
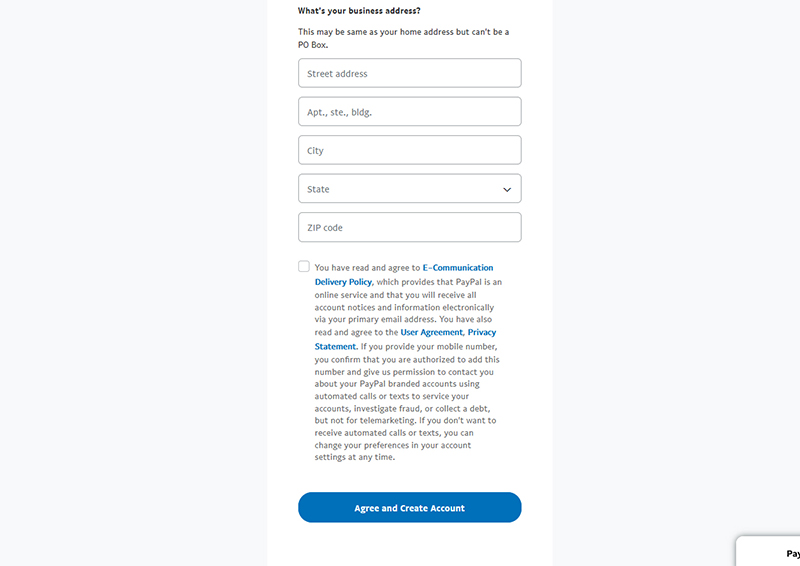
Step 3: Fill Out Your Business Information
The next page will ask for information about your business. If you operate a one-person business, you can use your personal name and address. Once finished, click Agree and Create Account.
Instructions for buying cheap, detailed StableHost hosting:
Explanation: Hosting is the place to store data and resources of the website. There are many cheap hosting services such as Bluehost, SiteGround, HostGator.
Registration instructions
Step 1: Visit the StableHost homepage
First, go to the link: https://www.stablehost.com/ to access the StableHost website homepage. Then click Sign Up on the interface.
Step 2: Choose StableHost hosting package
- If the user only has 1 website, he can register to buy the cheapest hosting package. In case you plan to expand to other satellite websites or branch out into other businesses, you should choose the Unlimited Pro or Unlimited Platinum package.
- Then, click Order Now to go to the next step.
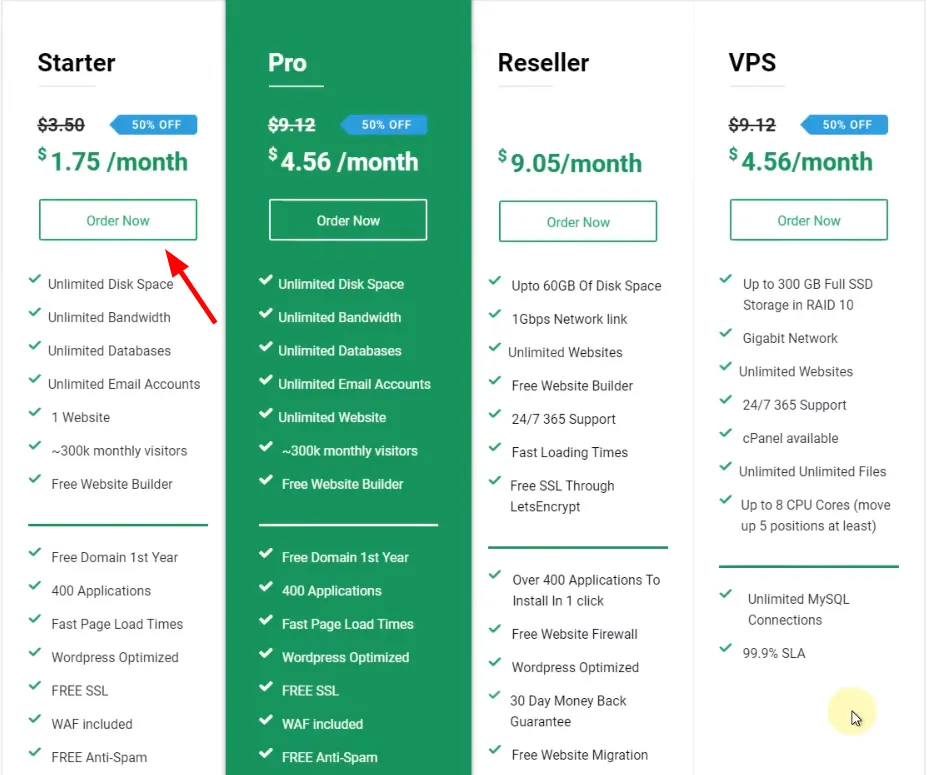
Choose StableHost hosting package
Step 3: Choose the main domain name associated with hosting
The main purpose of buying hosting is to host the corresponding web according to the specific domain name. Therefore, to be activated and used, the hosting needs to be assigned to the corresponding domain name.
In the current interface, users are provided with 3 options:
- Register a new domain name. (Note that when using a domain name, you should choose your brand name, preferably an English name)
- Transfer domain name to StableHost.
- Use an existing domain name and set up DNS later.
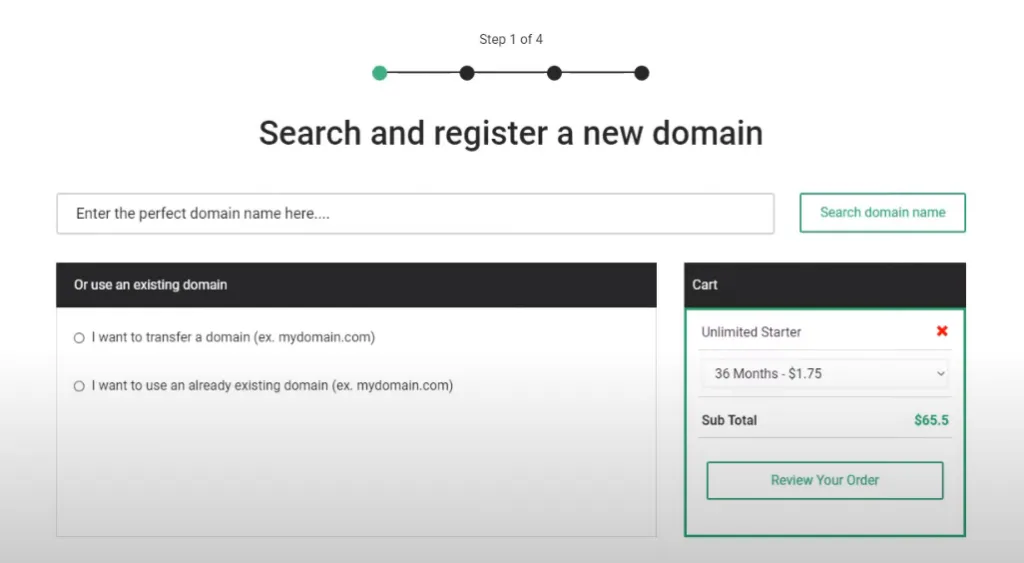
Register a domain name when purchasing StableHost hosting
To continue, click Continue.
Step 4: Select billing cycle
Users have the right to choose the appropriate billing cycle according to their needs with options provided to pay every month, 3 months, 6 months, 12 months, 24 months and 36 months.
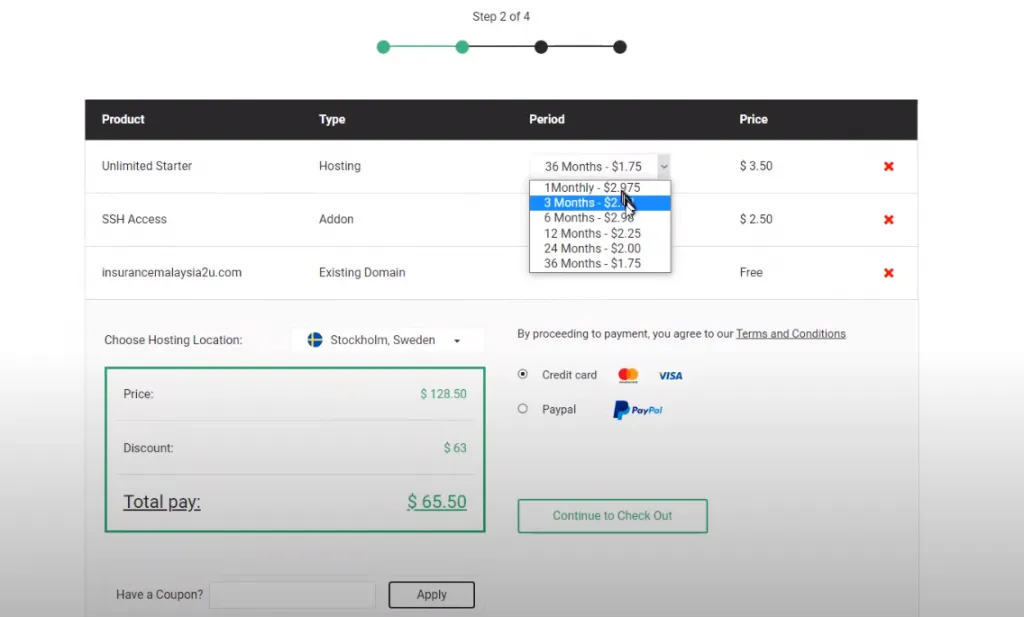
Select the payment cycle to purchase StableHost hosting
Then, click Continue to the next step.
Step 5: Fill in information to register to buy hosting
The interface will display blank boxes requiring the buyer to fill in all necessary information such as:
- Surname.
- Middle name and first name.
- Company name.
- Primary email address.
- Set up password.
- Confirm password.
- Your address.
- City name.
- State, region (fill in similarly to number 8).
- Zip code (Postal code).
- Country name.
- Mobile phone number.
- Channel known to StableHost.
After completing the above information, below is the “Secret Question” section. The buyer will choose any question, then fill in the answer in the blank box.
Note: You should write down the answer so that during use, if you forget your password, you can use it to restore it.
Next, if the user has a promotional coupon code, he or she can enter it in the “Have a Coupon” box and click Apply to apply it to the service package being registered.
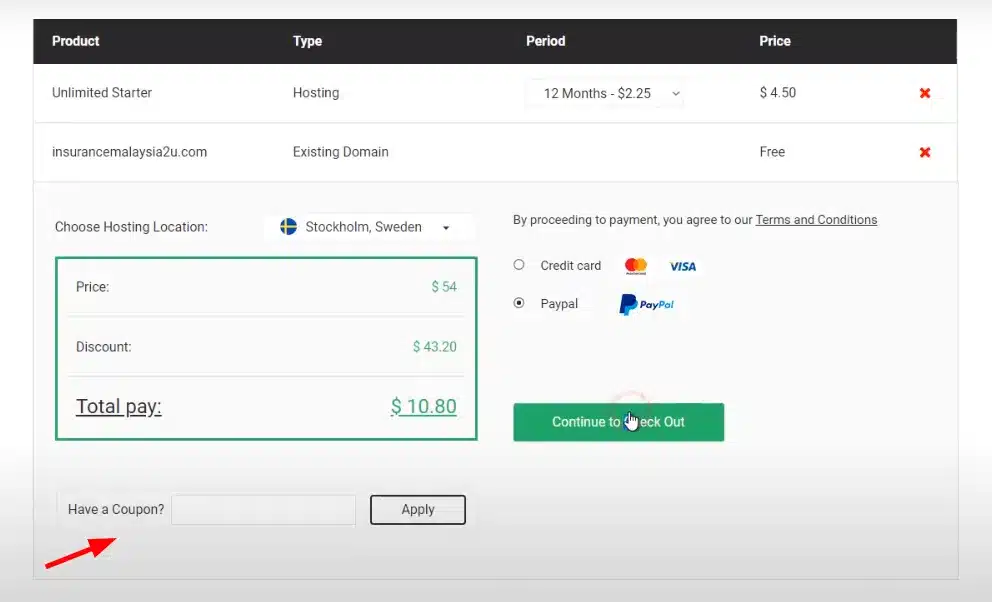
Fill in Coupon information
Step 6: Choose payment method
In this step, users can choose to pay by Credit Card or PayPal.
With Credit Card, you will be asked to fill in the following information:
- Card Type: Click to choose to pay by VISA or Master Card.
- Card Number: Fill in the series of numbers printed on the card.
- Expiry Date: Expiration date of the card (Printed on the front of the card).
CVV/CVC2 Number: Enter the last 3 numbers in the signature section on the back of the card.
In case you want to pay via PayPal, the user clicks on PayPal and confirms in the “I have read and agree to the Terms of Service” box.
Then, click Checkout to proceed with payment according to the selected method.
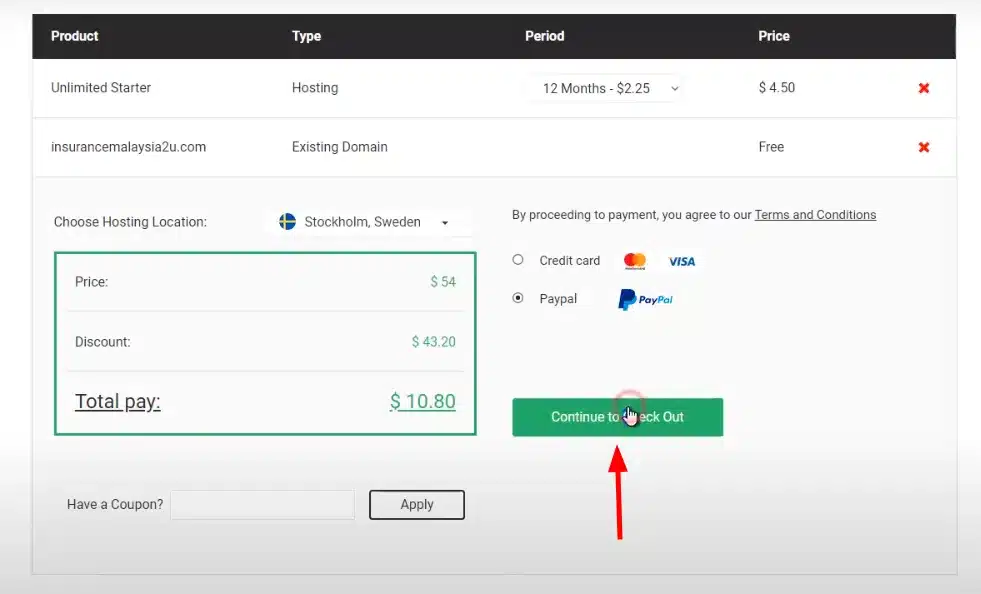
CheckOut to buy StableHost hosting
Step 7: Pay the bill
In case of payment by PayPal, after selection and confirmation, the system will automatically create an electronic invoice for users to pay according to the content on it.
Step 8: Log in to your account
After completing the payment, the system will automatically help users log in to their StableHost customer account. As for administrative information, the system will send it via email after a few minutes.
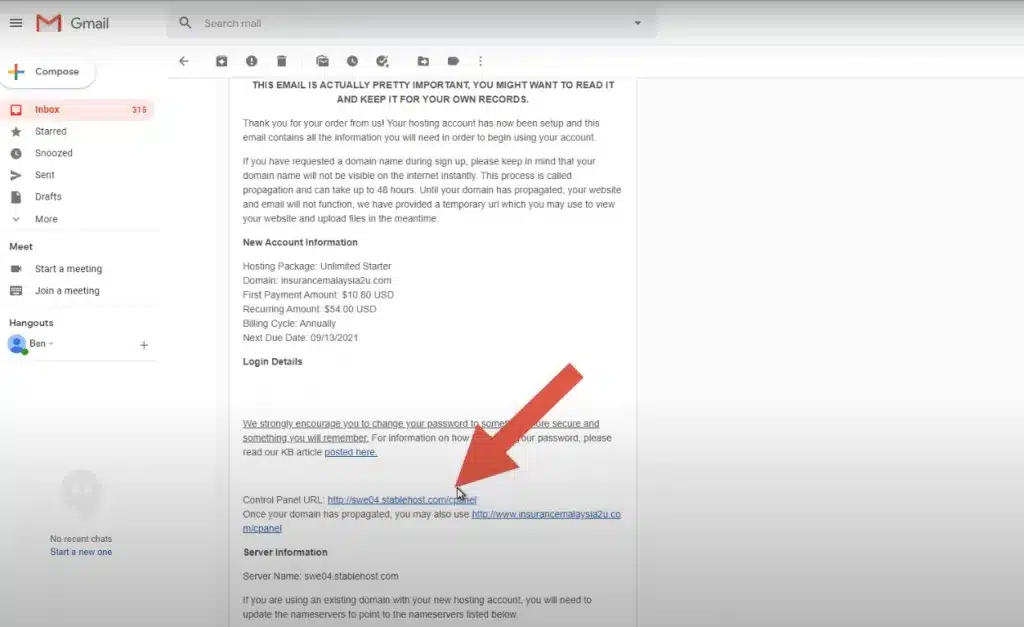
StableHost administration information
Step 9: Verify mobile phone number
In order to prevent anonymous registration, StableHost requires users to verify their mobile phone number before they can use it.
Then, the system will send an email with the following illustrative title [Ticket ID: 263131] Important: Phone Verification Needed. Then, the user clicks on the link attached in the message and performs verification according to the instructions.
Step 10: Hosting administration information
In addition, StableHost also emails users information about hosting administration. This is important content so you need to keep it carefully, because users or outsourcing units can later rely on this hosting to build websites.
Email about hosting administration information sent to users has the title: StableHost – Web Hosting Details. It contains 3 important pieces of information to note:
- New Account Information: Information about the purchased service package.
- Login Details: Login information for the administrator account.
- Server Information: Information about DNS server.
Based on the above information, users can log in to the hosting administration page to upload the web source code.
Muncheye:
- Explanation : Muncheye is a website that provides information about upcoming digital products, helping you track and participate in marketing campaigns
- Register :
Visit Muncheye’s homepage.
Click Submit

Click Register for an account here.

Fill in all information and click confirm.

WarriorPlus:
- Explanation: WarriorPlus is an affiliate marketing platform that allows you to create and manage digital products.
- Register :
- Visit the WarriorPlus homepage.
- Create an account and confirm registration.

Fill in the information and activate the registration email:

Mailchimp:
- Explanation : Mailchimp is a free email marketing service for small businesses that allows you to send bulk emails and track performance.
- Register :
Detailed instructions:
Step 1: Visit the Mailchimp website > Select Free Registration in the right corner to register for a free account.

Select Free Registration in the right corner to register for a free account
Step 3: Enter basic information: email address, username and password.
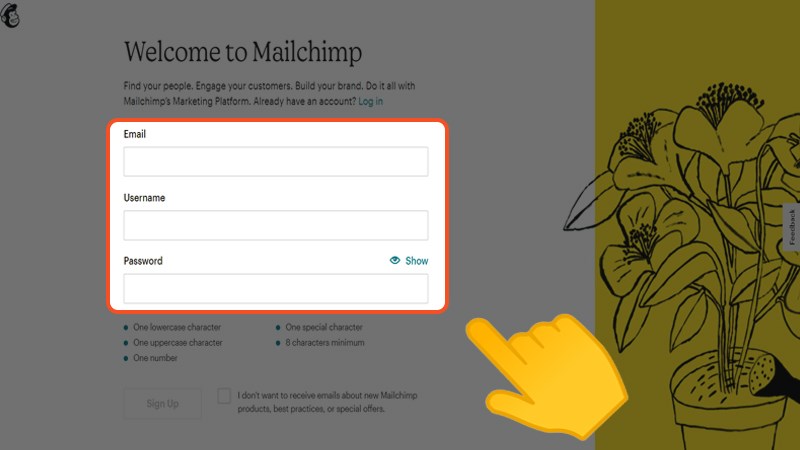
Enter basic information
Note: To choose a password, you need to ensure that all of the following elements are present:
- A lowercase character (a,b,c,..)
- An uppercase letter (A,B,C,..)
- A special character (@,!,..)
- One digit (1,2,3,…)
- The length of the password is over 8 characters
Step 4: Click on the box to agree to the terms > Select Sign up.
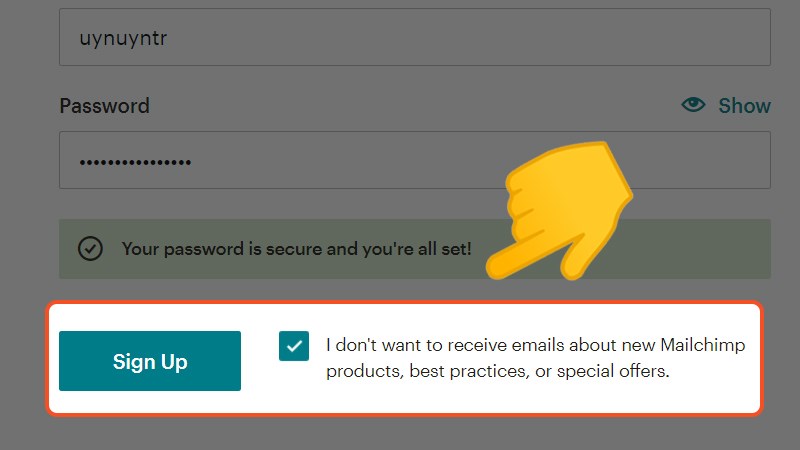
Click on the box to agree to the terms > Select Sign up
Step 5: Then you wait to receive an account confirmation email from Mailchimp.
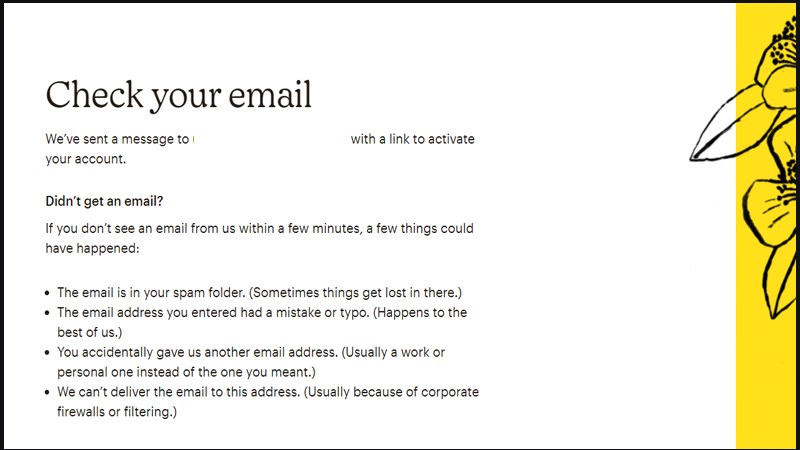
Wait to receive confirmation email
Step 6: Select Activate Account to activate the account.
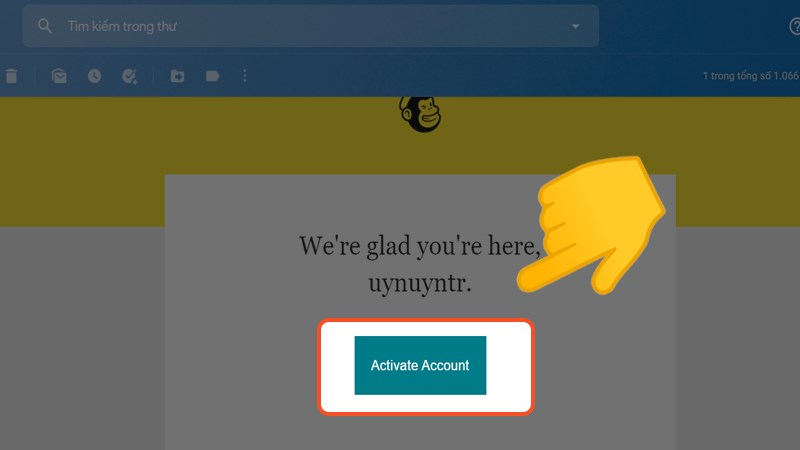
Select Activate Account to activate the account
This way, you will have a complete system to start creating your first product.
Next we need to connect paypal to warriorplus to receive money, mailchimp to collect a list of buyers
1. Connect paypal to warriorplus
You follow the instructions:


Warriorplus then redirects itself to paypal, you enter your account information and the connection is successful.
2. Connect mailchimp to warriorplus
Go to My account as in the step to connect paypal, then click as shown


After selecting Mailchimp, the browser automatically redirects to Mailchimp, you log in to your email account and connect.
So we have completed the part of creating and connecting accounts for sales, let’s move on to the next part to start creating your own digital products.